Step 1: Access the "Add User"
Navigate to the administrative section of the ApnaJugaad Portal where user accounts are managed.
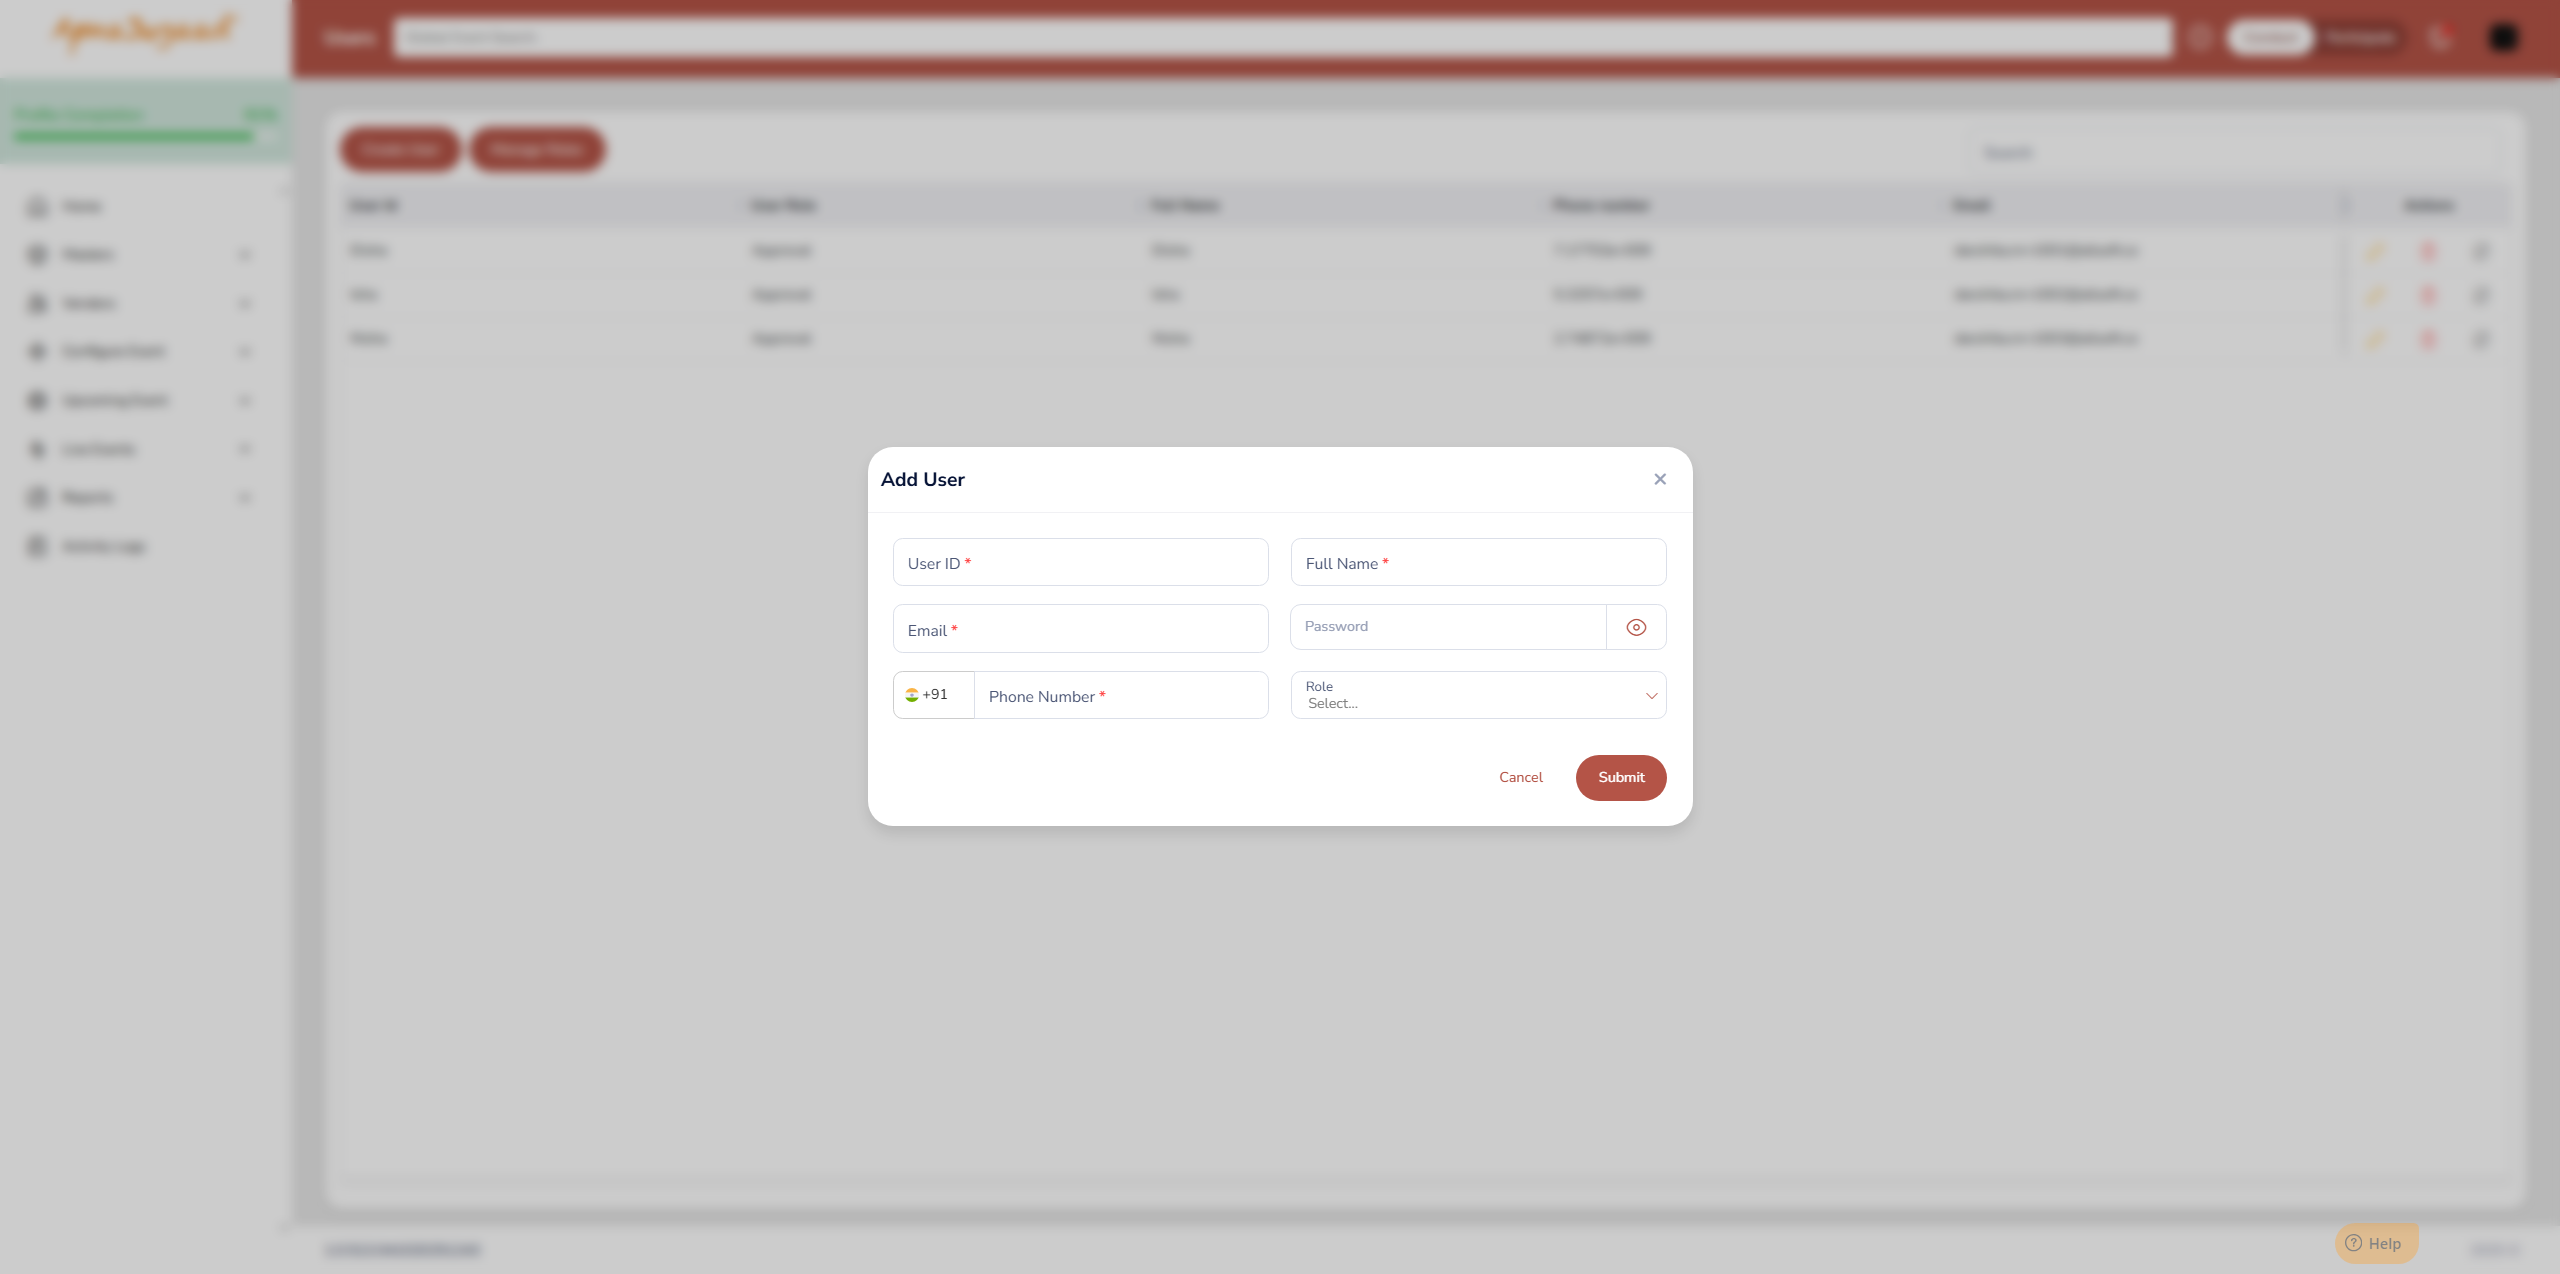
Click on the option to "Add User" or similar
Admin > Manage User & Role > Create New User.
Step 2: Enter User Identification Details
User ID : Enter a unique identifier for the user. This is typically a username that the user will use to log in. This field is mandatory.
Full Name : Enter the complete name of the user (First Name Last Name). This field is mandatory.
Email : Enter the primary email address for the user. This is crucial for communications, password resets, and potentially as an alternative login ID. This field is mandatory.
Step 3: Set Initial Password
Password: Enter an initial password for the new user.
Tip: Ensure the password meets any complexity requirements (e.g., minimum length, special characters, numbers).
Note: The eye icon next to the password field typically allows you to toggle password visibility for easier input and verification. The user might be prompted to change this password upon their first login for security purposes.
Step 4: Provide Contact Information
Phone Number: Enter the user's contact phone number.
Note:+91(India flag) indicates that the country code is pre-selected or can be chosen, followed by the specific phone number. This field is mandatory.
Step 5: Assign a Role
Role: Click on the "Select " dropdown under the "Role" field.
From the list of pre-defined roles (which you would have created via the "Create Role" process), select the appropriate role that matches this user's job function and required permissions within the portal.
Assigning a role is critical as it dictates what the user can see and do.
Step 6: Submit and Create User
Once all mandatory fields are filled and the role is assigned, click the "Submit" button.
The system will then create the new user account with the specified details and assigned role.
Step 7: (Optional) Cancel Action
If you decide not to create the user, click the "Cancel" button to close the modal without saving any changes.
Step 8: Post-Creation Actions:
Inform the new user of their User ID and initial password (and provide a link to the portal).
Advise them on any first-time login procedures, such as mandatory password changes.
Was this article helpful?
That’s Great!
Thank you for your feedback
Sorry! We couldn't be helpful
Thank you for your feedback
Feedback sent
We appreciate your effort and will try to fix the article