Steps to Create a New Event in Conduct Mode:
Step 1. Log in to Conduct Mode using your credentials.
Step 2. From the Dashboard, navigate to 'Configure Event'.
Step 3. Select the 'Reverse Auction' then click on 'Reverse Auction' .
Step 4. [Tab 1] General Details : 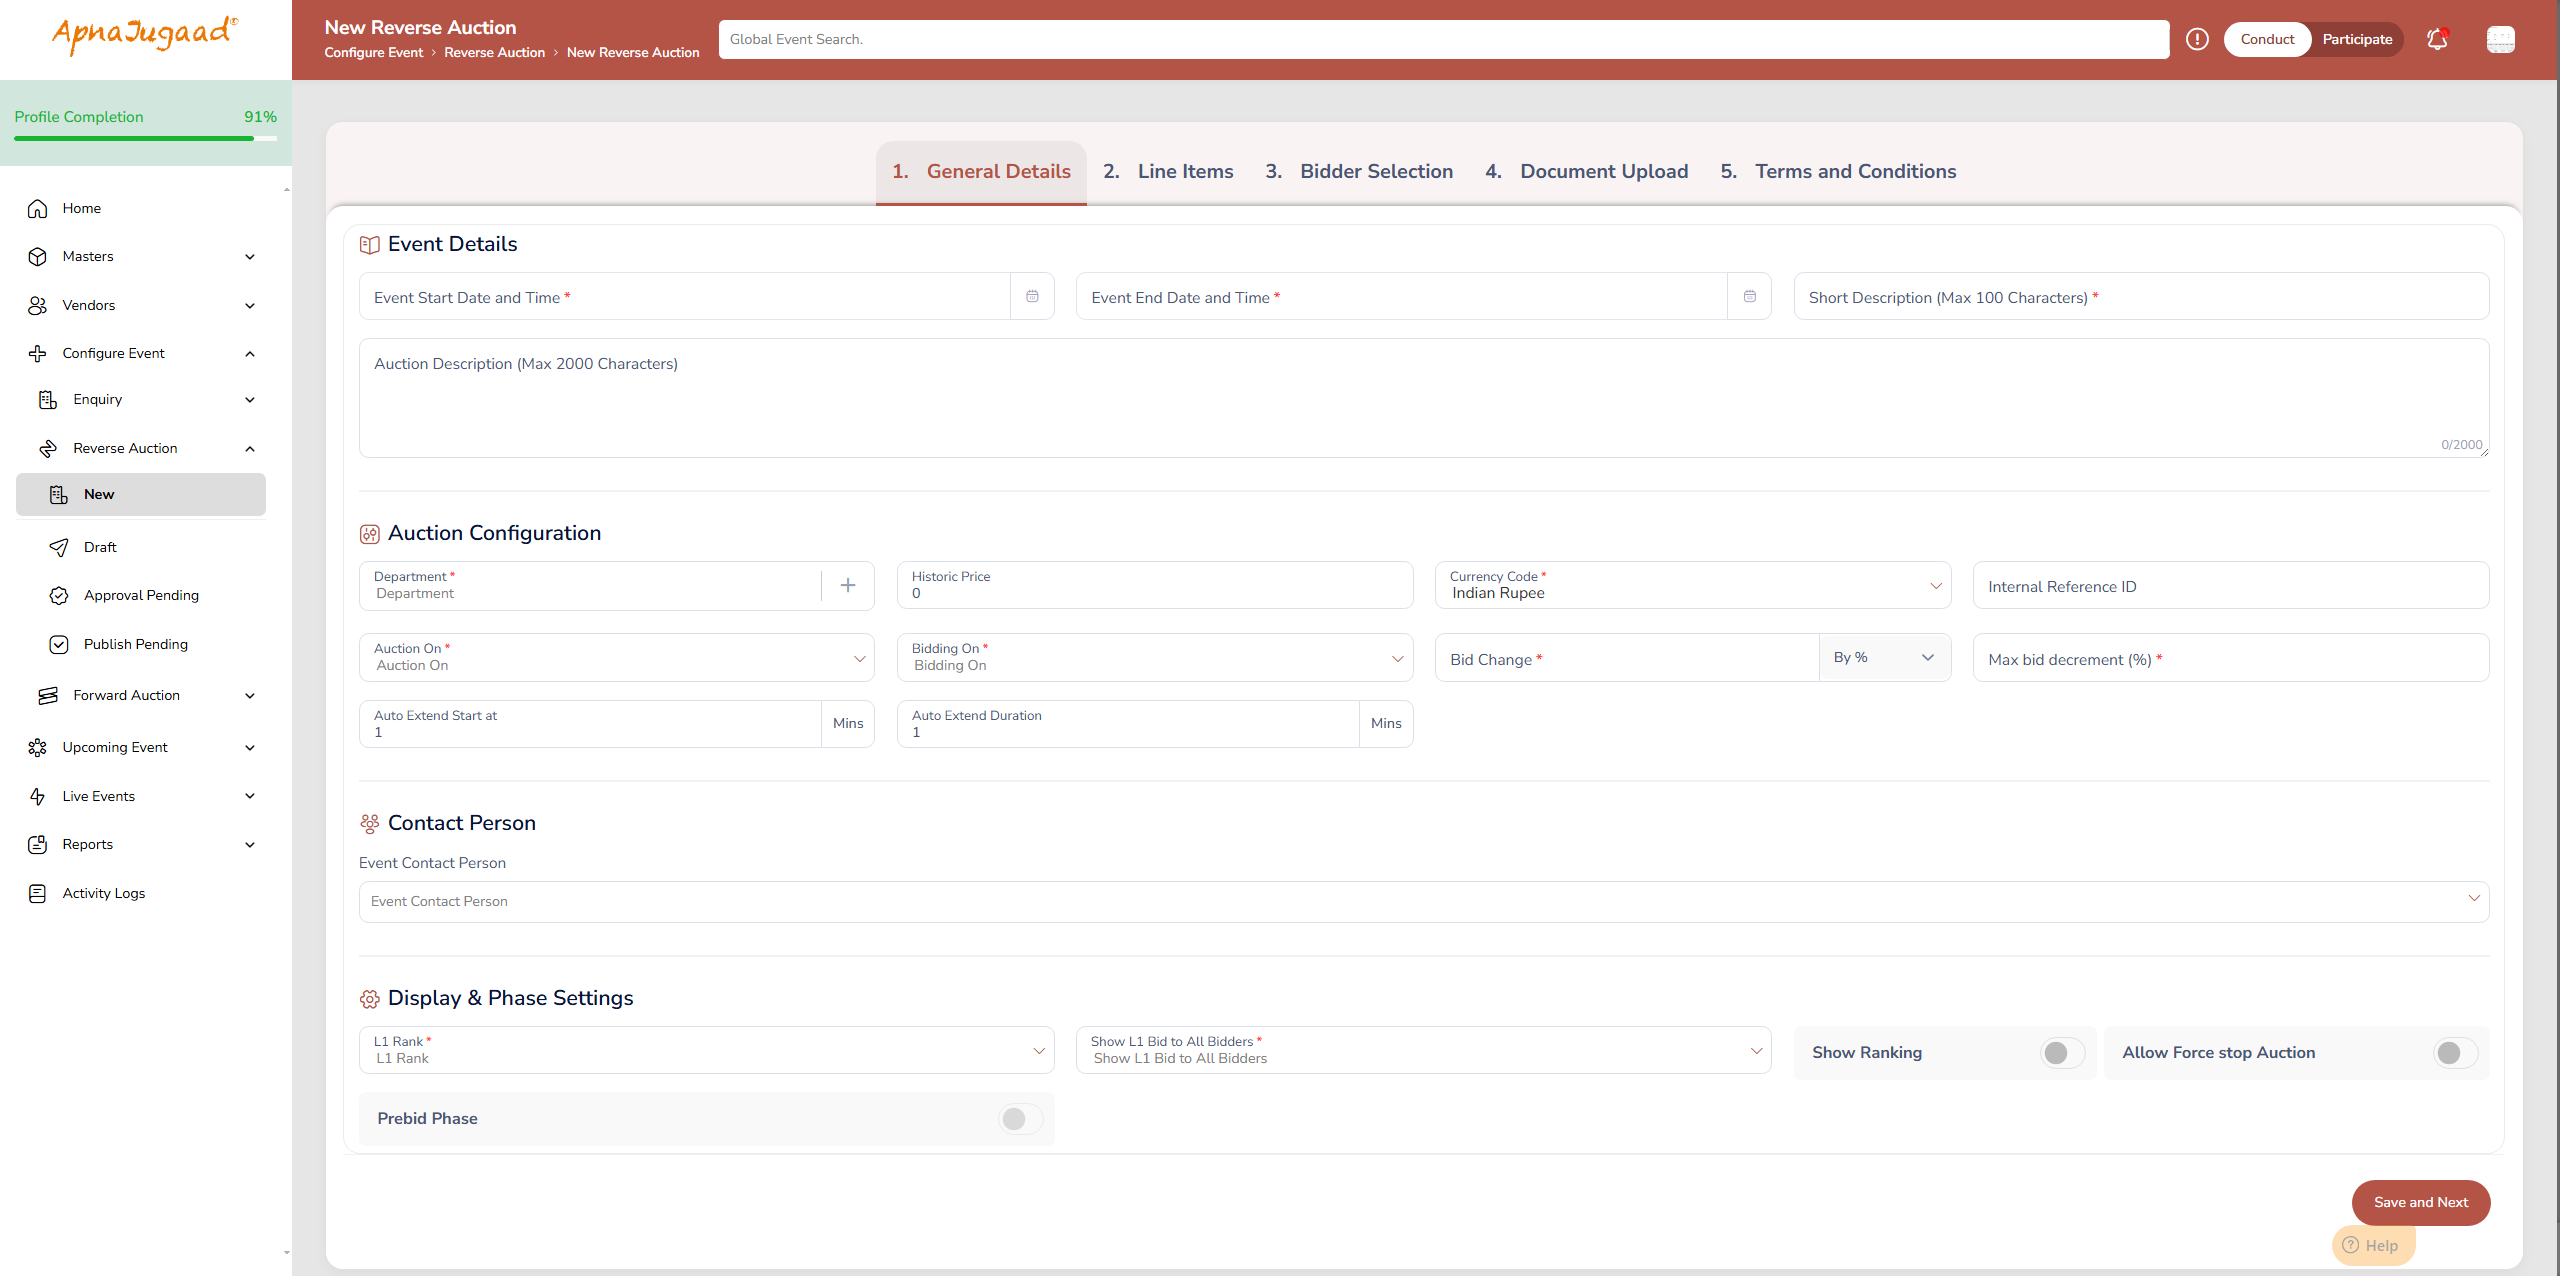
Fill all the general details first, including:
(a) Event Details
(I) Start Date and End Date: These fields define the exact period when suppliers can actively place their bids. The 'Start Date and Time' is when the auction opens, and the 'End Date and Time' is when it is scheduled to close. Be mindful of time zones if you are dealing with international suppliers.
(II) Short Description: Short Description as a headline or title for your event (e.g., "Annual Contract for Office Stationery"). It's used for quick identification in lists and reports.
(III) Description: Auction Description is where you provide all necessary details for the bidders, such as item specifications, delivery requirements, terms and conditions, and any other instructions they need to place an informed bid.
(b) Product Group
Product Group is a fundamental categorization system designed to organize and manage a diverse range of product items.
It functions as a list, enabling the classification of products into distinct categories i.e. "Access Control System" Each group features a checkbox, indicating its role as a filtering tool, allowing users to select specific categories to refine their search for desired items.
The numbers in brackets next to each group, such as Access Control System [174], denote the exact count of products associated with that particular classification.
This structure, complemented by a search bar, ensures efficient navigation and product discovery, making it easier for users to locate relevant items within a vast inventory.
(c) Auction Configuration
(I) Historic Price: The Historic Price is a benchmark figure, usually the price you paid for the same item or service the last time you purchased it. This is not shown to bidders. It is used internally to calculate the savings achieved through the auction.
(II) Bidding On: Grand Total of Complete Items: This setting means that suppliers will place a single bid for the total price of all items listed in the auction, rather than bidding on each item individually. They are competing on the overall package deal.
(III) Bid Change: This rule dictates the minimum amount by which a supplier must improve their bid.
By %: A new bid must be a certain percentage lower than the current best bid.
By Value: A new bid must be a specific monetary amount lower than the current best bid.
(IV) Max bid decrement (%): This is a crucial rule that prevents bidders from making excessively large price drops in a single bid. For example, if the current lowest bid is $1,000 and the 'Max bid decrement' is 5%, the next bidder cannot place a bid lower than $950 ($1,000 - 5%). This encourages more strategic and competitive bidding throughout the auction.
(V) Auto Extend feature (Auto Extend Start at and Auto Extend Duration): This is an anti-sniping mechanism. "Sniping" is when a bidder waits until the very last second to place a winning bid, leaving no time for others to react.
Auto Extend Start at (Mins): If a new bid is placed within this final window of time (e.g., in the last 4 minutes of the auction), the auction is automatically extended.
Auto Extend Duration (Mins): This is the amount of time the auction is extended by (e.g., it extends for another 4 minutes). This process repeats until no new bids are placed within the final window, ensuring a fair chance for all participants.
(d) Display & Phase Settings
(I) L1 Rank & Show L1 Bid to All Bidders: 'L1' is procurement terminology for "Lowest Price, Rank 1"—the current winning position. This setting determines the level of transparency in your auction, which has significant psychological impacts on bidders.
* If 'Show L1 Bid to All Bidders' is set to 'Yes': This creates a fully transparent auction. All participants can see the exact monetary value of the leading bid (e.g., "The leading bid is ₹78,000"). This allows them to calculate precisely what they need to bid to take the lead.
* If set to 'No': This creates a "Rank-Only" auction. Bidders do not see the leading price. They only see their own rank (e.g., "You are Rank 2"). They know they need to improve their price to win, but they don't know by how much. This lack of a clear target can push suppliers to bid their absolute best possible price, as they are bidding against an unknown figure.
(II) Show Ranking: When this is enabled, it shows each bidder their current competitive rank in the auction (e.g., "You are Rank 1," "You are Rank 3," etc.). Disabling this would mean bidders have no idea where they stand, which is a less common auction strategy.
(III) Allow Force stop Auction: Enabling this gives the event administrator (you) a button to end the auction immediately, before its scheduled end time. This is a useful safety measure in case of technical problems or if a pre-determined target price has been achieved and you wish to conclude the event early.
(IV) Prebid Phase: The 'Prebid Phase' is an optional period before the live bidding begins. During this time, the auction details are visible to suppliers, but they cannot place bids. It allows them to review all the requirements and ask clarifying questions, ensuring they are fully prepared for the live auction.
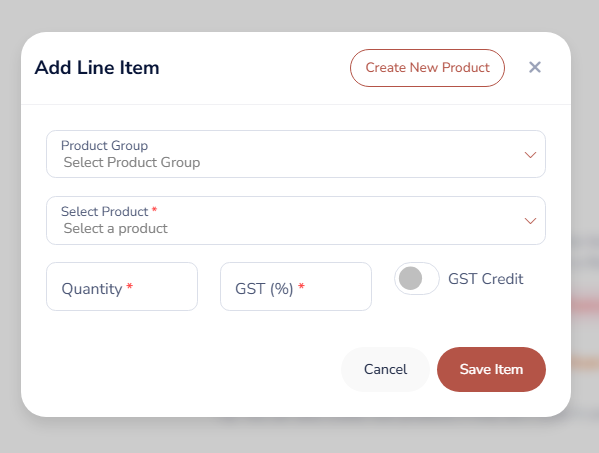
Step 5. [Tab 2] Add Line Item :
Click on the ‘Add Line Item’ button. Select the relevant Product Group, then choose the Product, enter the Quantity, and specify the applicable GST Percentage. 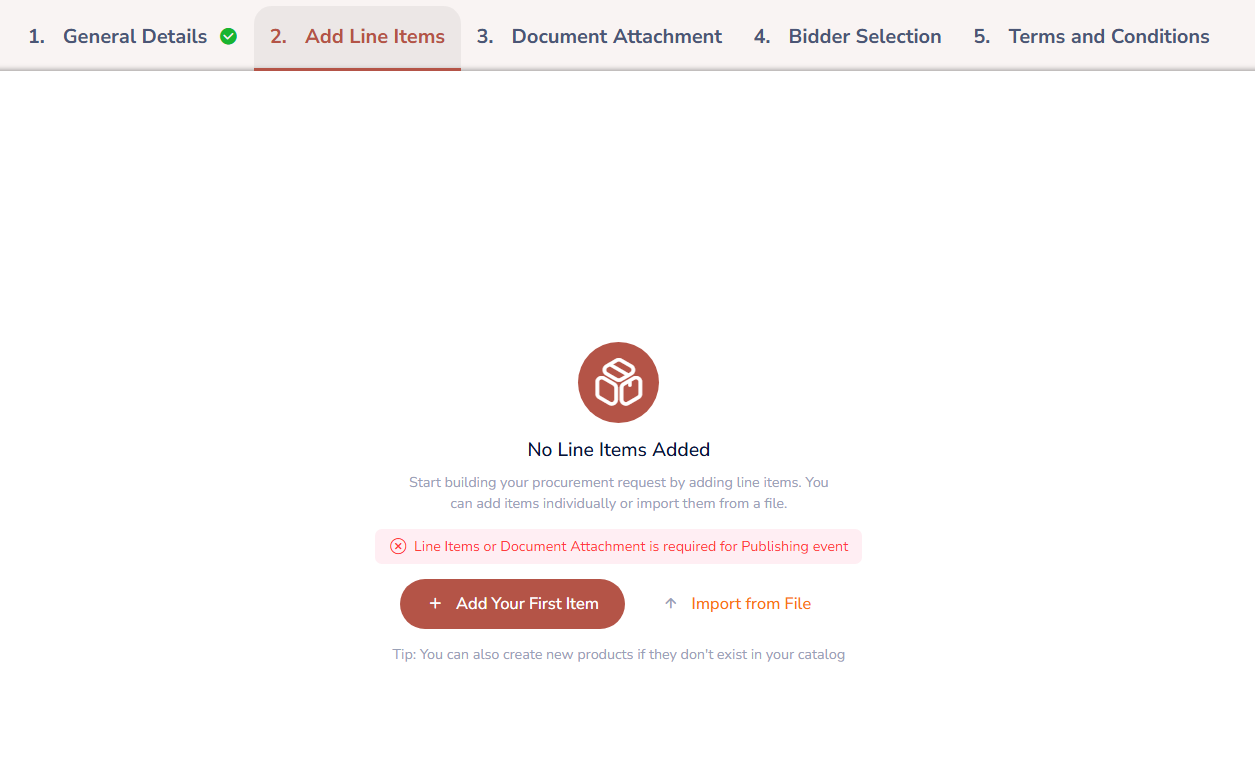
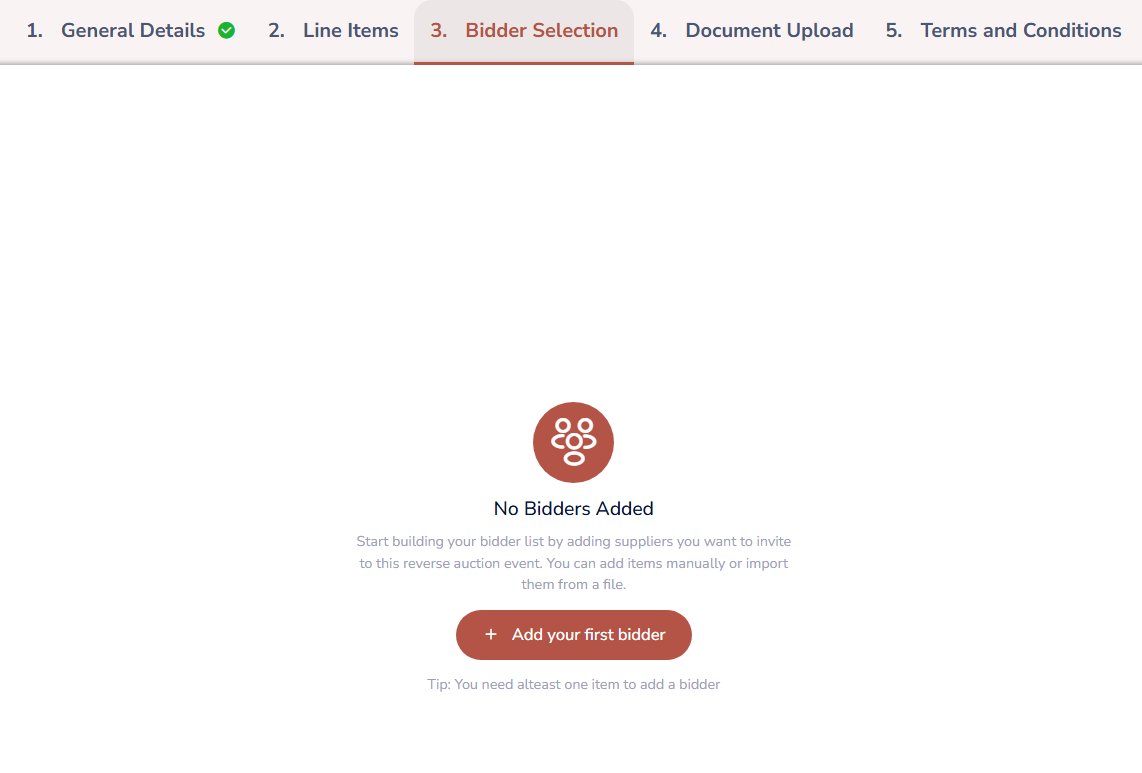
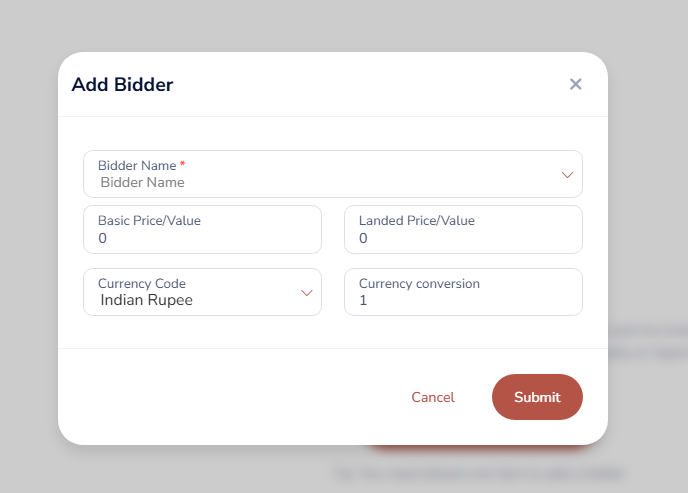
Step 6. [Tab 3] Bidder Selection :
Add and select the appropriate Bidder from the available options.

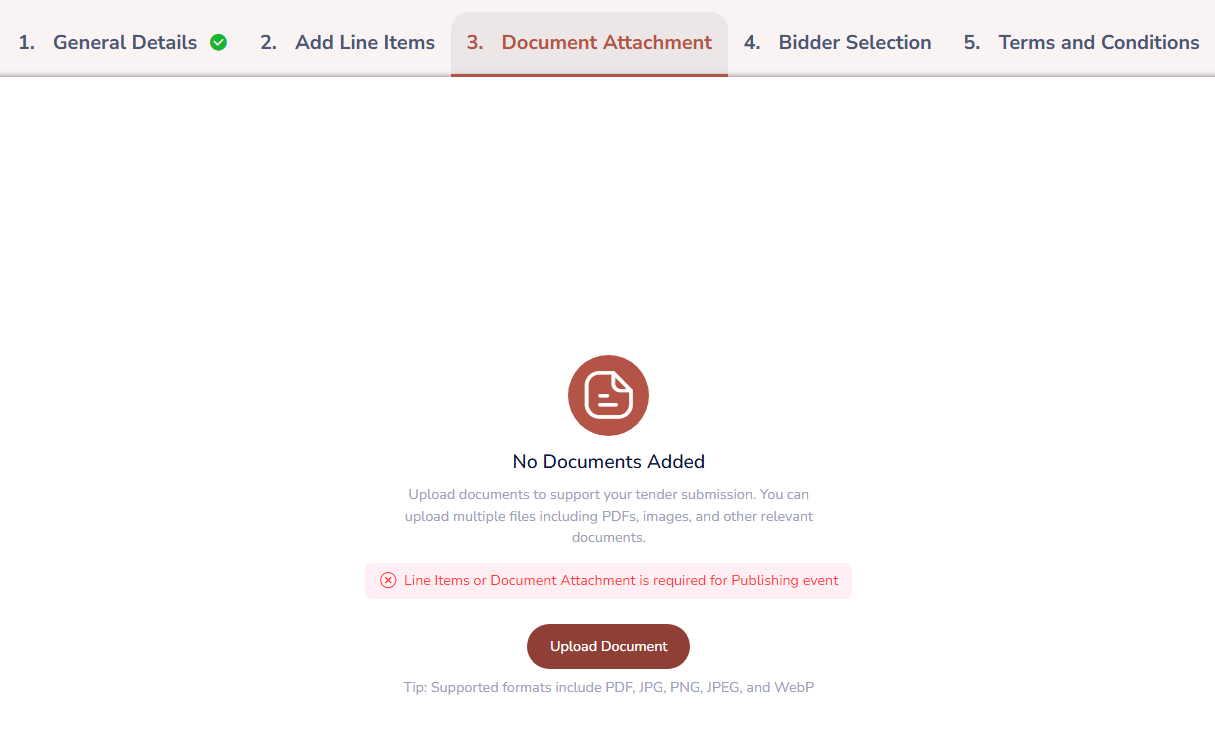
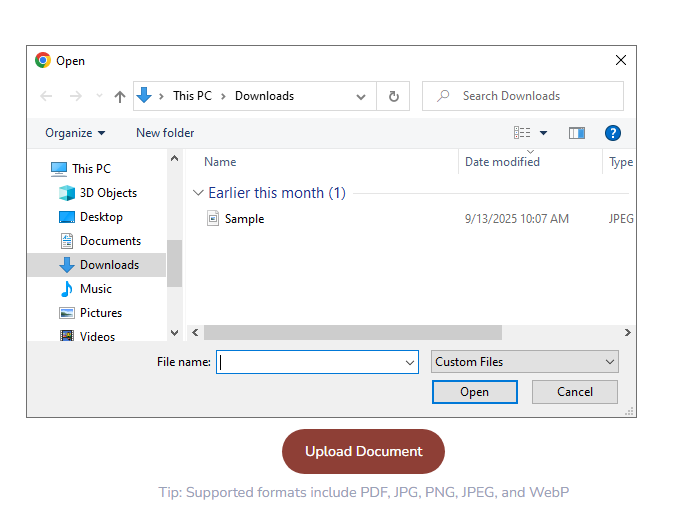
Step 7. [Tab 4] Attached Document :
To attach a document, click on the ‘Upload Document’ button. Select the desired file from your system and then click on ‘Upload’ to complete the process.
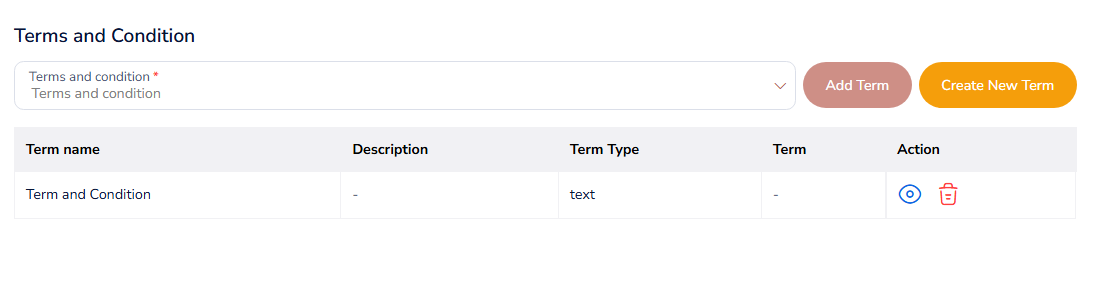
Step 8. [Tab 5] Terms & Conditions :
Select the relevant Terms & Conditions (T&C) and then click on the ‘Add T&C’ option to include them in the event.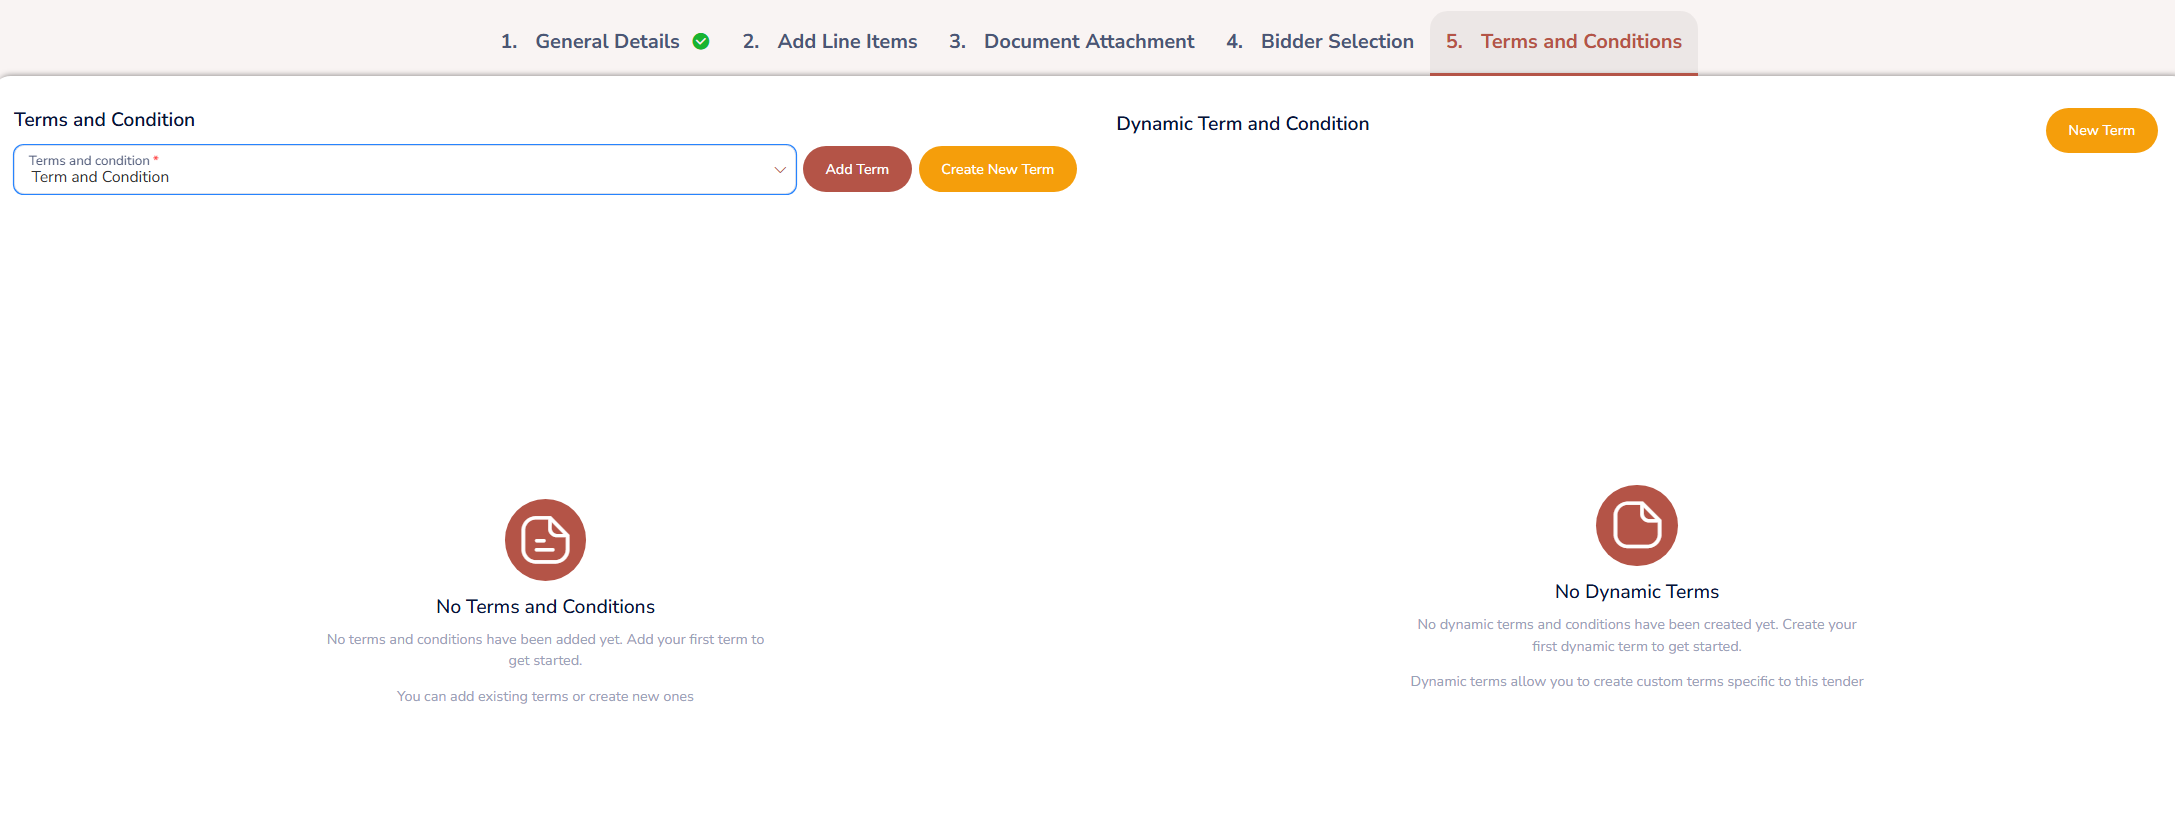
Step 9. Once event goes to draft as soon as General Details are 'Saved'.
Was this article helpful?
That’s Great!
Thank you for your feedback
Sorry! We couldn't be helpful
Thank you for your feedback
Feedback sent
We appreciate your effort and will try to fix the article